Friday, August 6, 2010

Vanilla-Fudge Marble Cake

Whenever I visit my friend Bri, it seems like she is using her Better Homes Cookbook. Once I got the America's Test Kitchen Family Cookbook (ATK), I have set Better Homes aside because ATK has built-up my trust for all of the recipes within it. I decided I needed to brush the dust off of Better Homes and try something new.

I opened the cake section (seems to always have something easy and delicious) and saw the picture for this cake. I remember staring at this cake many times, but never made it because it required buttermilk, which I never had on hand. For some reason, I just so happened to have extra buttermilk that needed to be used-up in my refrigerator, so now was the time to finally try this recipe!


The only thing I think I would change is that I used chocolate syrup I had around and next time I think I would make my own to make a more deep in flavor chocolate cake batter. With that said, it was light and yummy!


Vanilla-Fudge Marble Cake

3/4 cup butter, softened
2 eggs
2 3/4 cups all-purpose flour
1 1/2 teaspoons baking powder
1/2 teaspoon baking soda
1/2 teaspoon salt
1 1/2 cups sugar
1 1/4 buttermilk
2/3 cup chocolate-flavored syrup

1. Allow butter and eggs to stand at room temperature for 30 minutes. Meanwhile, grease and lightly flour a bundt pan. In a medium soda, and salt. Set aside.
2. In large mixing bowl beat butter with an electric mixture on low to medium speed about 30 seconds. Add sugar and vanilla; beat until fluffy. Add eggs 1 at a time, beating on low to medium speed 1 minute after each addition and scraping bowl frequently. Alternately add flour mixture and buttermilk to butter mixture, beating on low speed after each addition just until combined. Reserve 2 cups batter. Pour remaining batter into prepared pan.
3. In a small mixing bowl combine chocolate syrup and reserved 2 cups batter. Beat on low speed until well combined. Pour chocolate batter over vanilla batter in pan. Do not mix.
4. Bake in a 350* oven about 50 minutes or until wooden toothpick inserted bear center comes out clean. Cool 15 minutes on wire rack. Remove from pan; cool completely on wire rack. Drizzle with chocolate syrup.

Wednesday, August 4, 2010

Grilled Beef Kebabs and Pita Salad

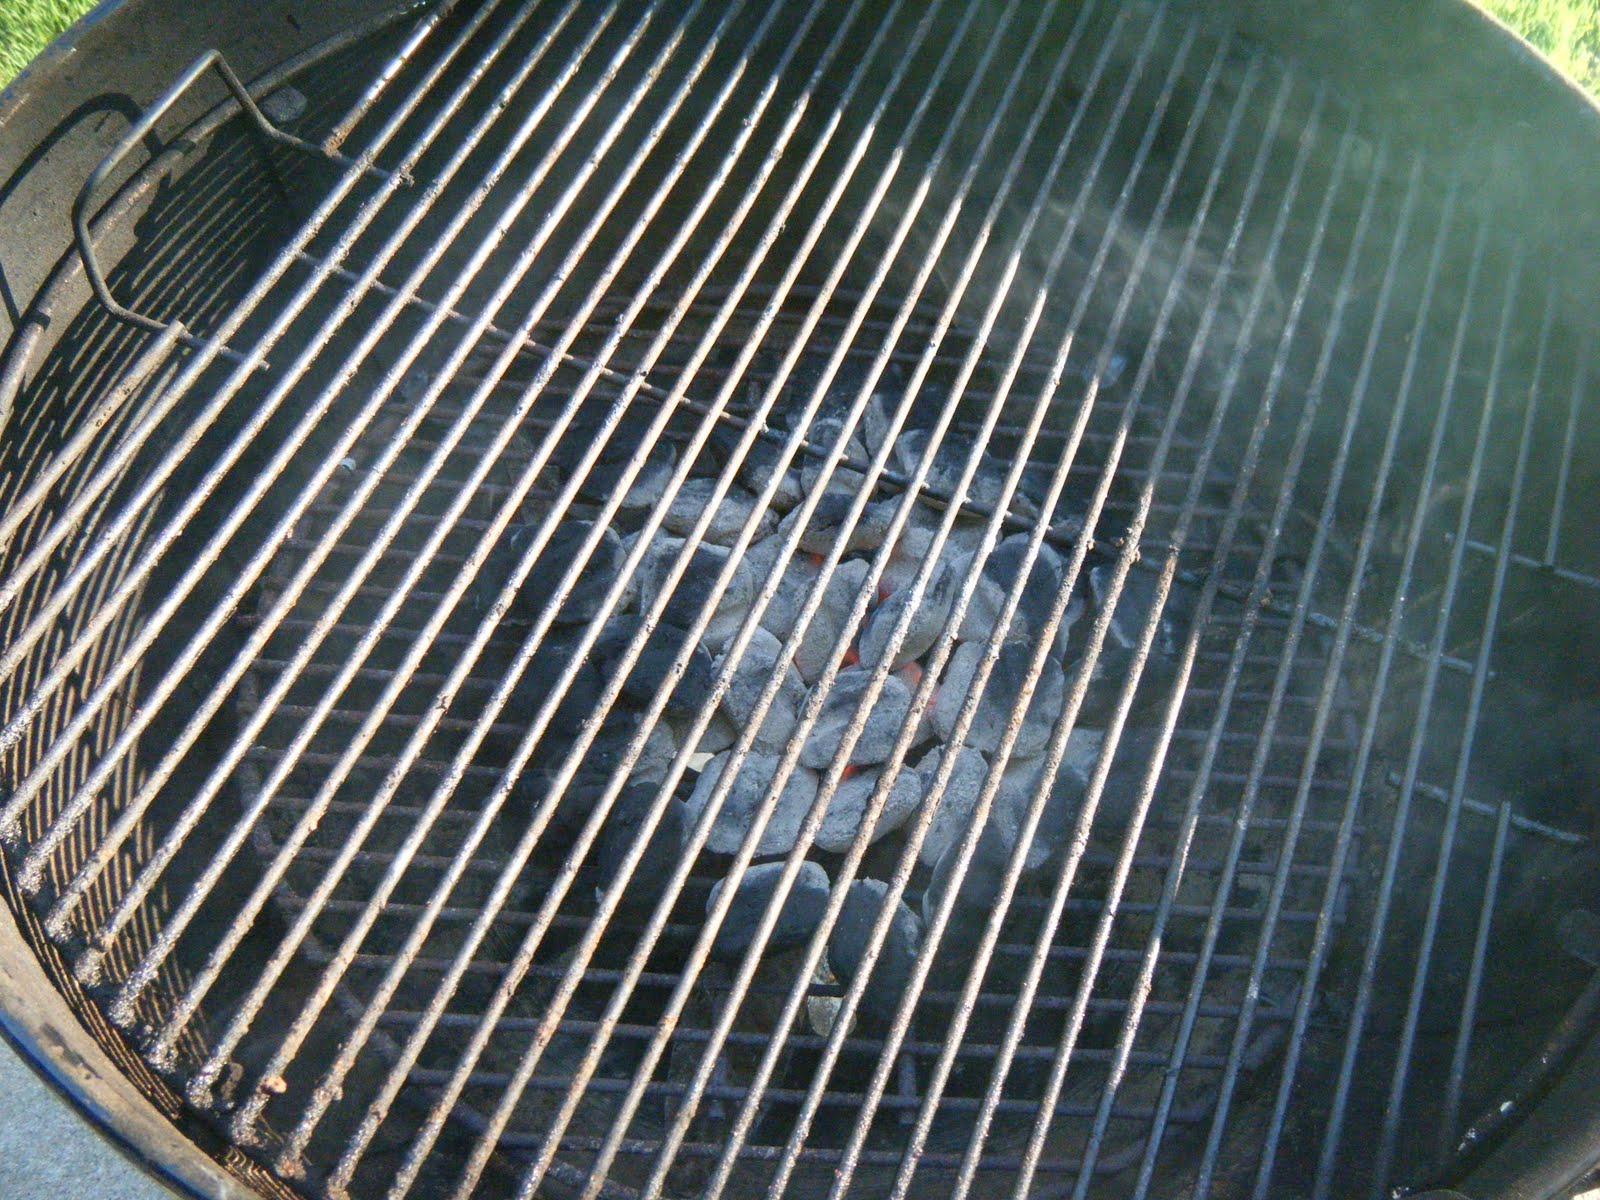
I finally got my BBQ out and fired-up the charcoals! I wanted to make kebabs because it seemed easy, quick, and something that I haven't really eaten- at least not for several years. I saw this recipe in an America's Test Kitchen Magazine and it looked so amazingly good and perfect for hot summer nights, I had to make it!

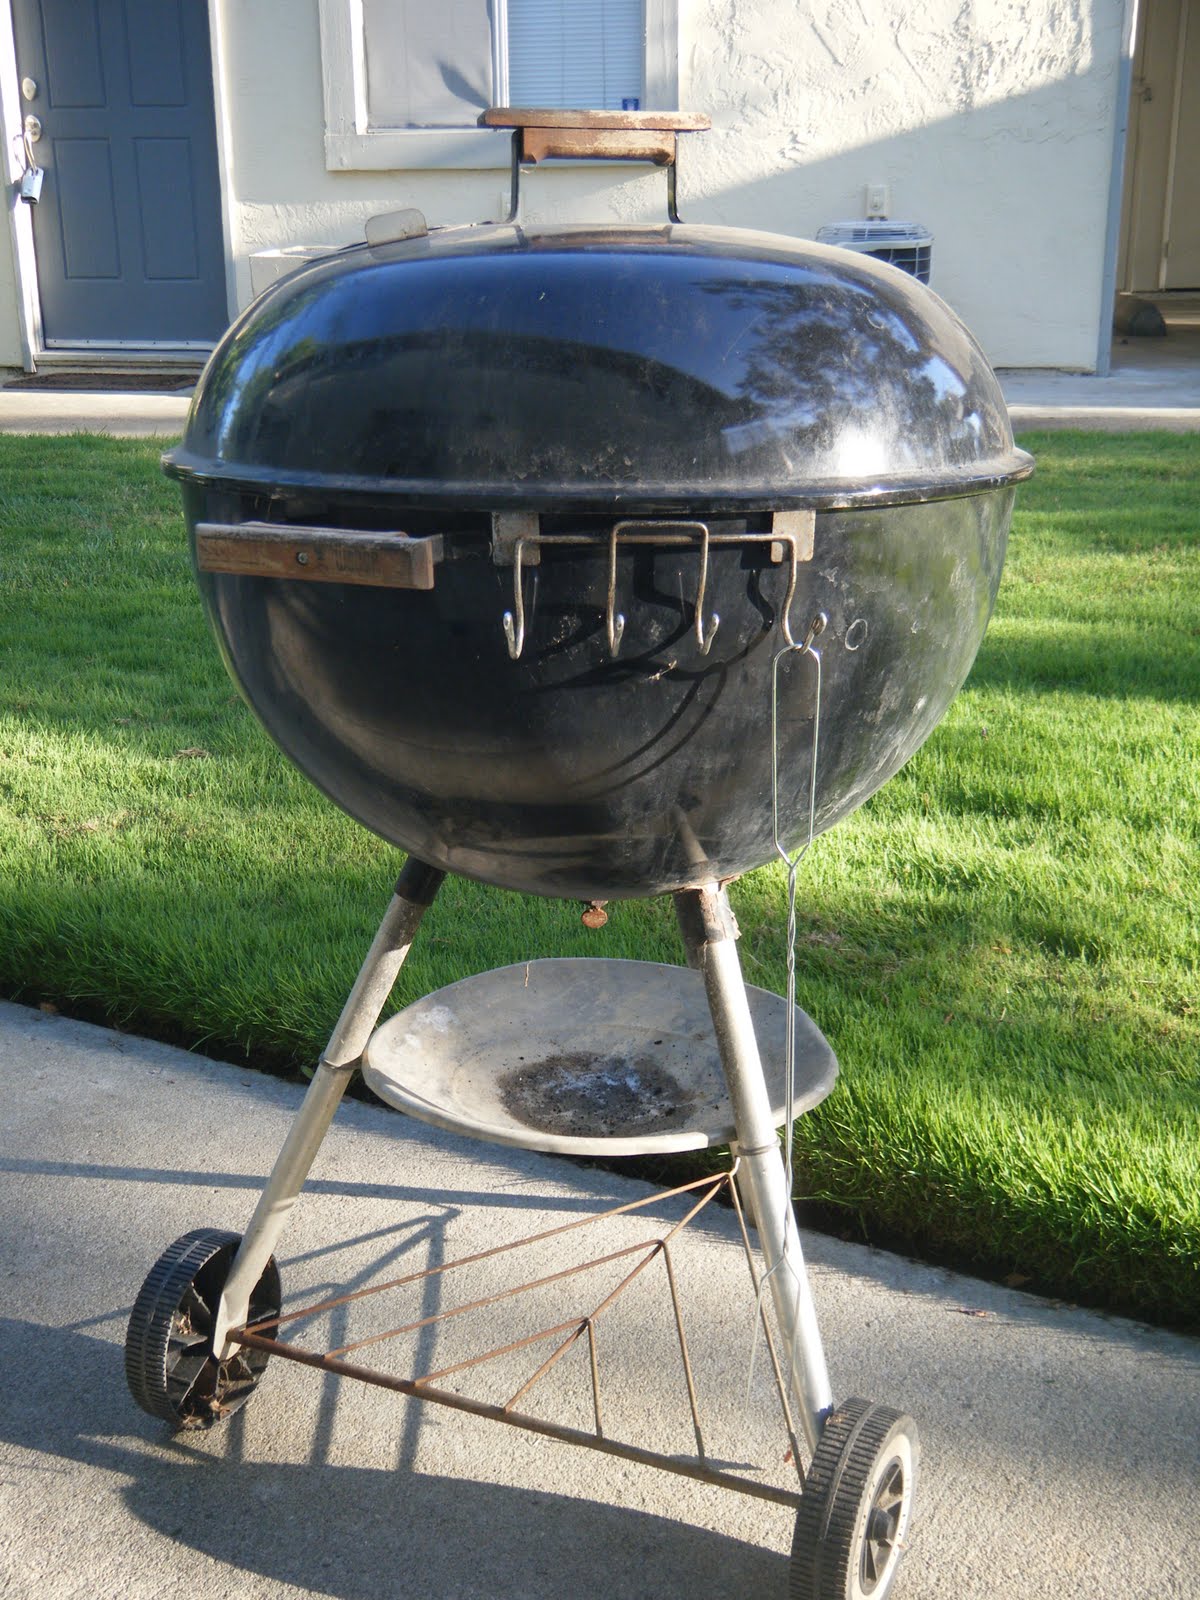
It all started with the BBQ.


I got the BBQ for free from my mom since she got a gas one and didn't use or need this on anymore.


Then I sat out side for the grilling extravaganza!


Grilled Beef Kebabs and Pita Salad

3/4 cup extra virgin olive oil
3 garlic cloves, minced
1 1/2 pounds stew meat, preferably chuck
salt and pepper
4 (8 inch) pita breads, split into 2 rounds
1 romaine heart, torn into bite-size pieces
1 pint grape tomatoes
1 cucumber, chopped
1/2 cup chopped fresh parsley
1 cup crumbled feta cheese

1. Combine oil and garlic in bowl. Brush 2 Tablespoons oil mixture on both sides of pita breads. With the rest of the oil, toss beef and season with salt and pepper. Let beef marinate until ready to grill.
2. Thread 4 skewers with beef and discard marinade. Grill kebabs over hot fire, turning often, until charred and cooked through, 6 to 8 minutes. Grill pita rounds until browned and crisp, about 1 minute per side.
3. Transfer kebabs to serving platter. Combine romaine, tomatoes, cucumber, parsley, and cheese in bowl. Break or cut pita rounds into bite-size pieces and add to bowl with lettuce. Toss with dressing (I would recommend Italian) and season with salt and pepper to taste. Serve with kebabs.

Monday, August 2, 2010

Pasta with Salmon, Fennel, and Asparagus

I am constantly trying to fit fish meals into my weeks, but it ends up not making the list every week because I'm not a big fan of fish. It smells up the whole house when I cook it and I'm not very good at cooking it-I tend to dry it out due to my lack of experience with it (ironic!). When I come across a fish recipe that sounds good and different from any other recipe I've tried, I get excited. I found this recipe in an America's Test Kitchen Magazine and decided to give it a try. I found it wonderfully delicious! I didn't have overcooked fish, and the pasta and sauce paired with the salmon beautifully. I would recommend it to fish and non-fish lovers alike.

Side Note: I love pretty much anything from America's Test Kitchen, Cook's Country, and Cook's Illustrated because they are almost always my favorite recipes.

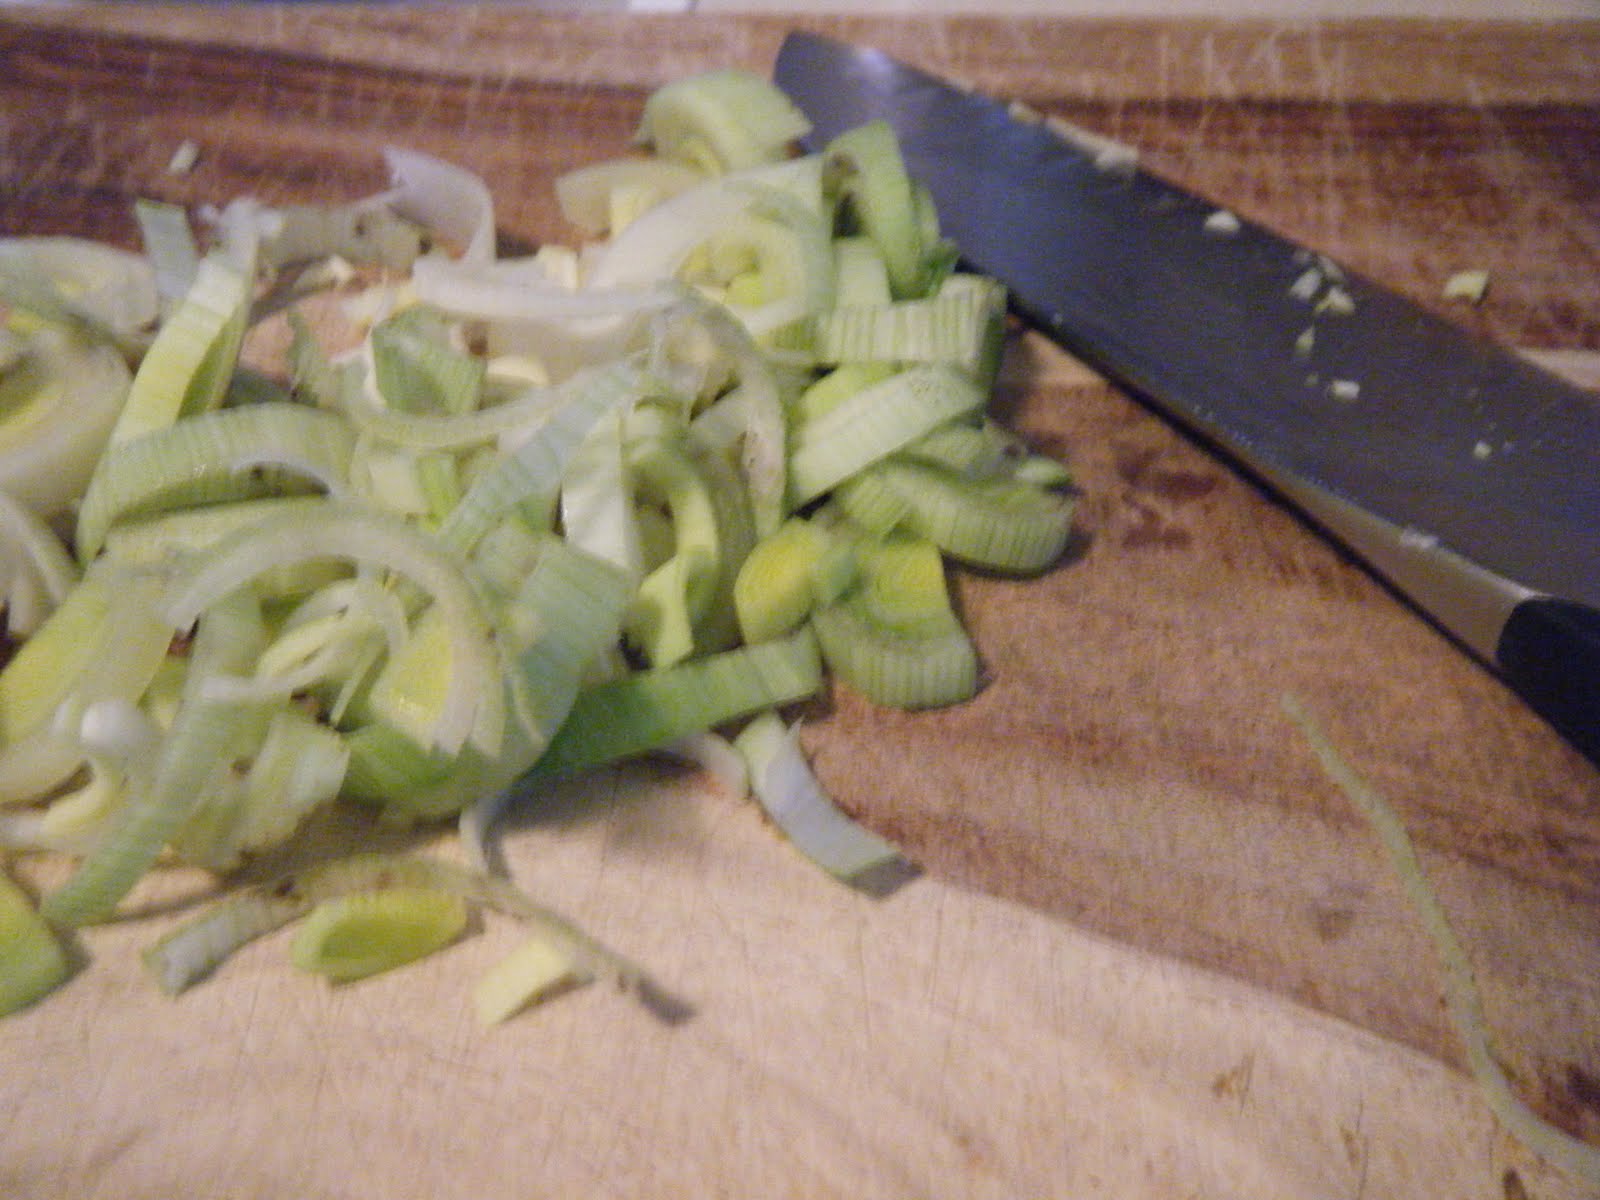
Chopped leeks.

Asparagus.

Melt the butter.

Wash the leeks.

Put the two together! Sauteing the leeks.

Add the salmon. I bought this salmon from the freezer section of Costco after someone recommended it to me. I love them! They are individually wrapped and super easy to use!

Parsley.

Took out the salmon and added cream.

I was boiling the pasta and added the asparagus to the last few minutes of cooking.

Then, mixed everything together. 


I should have chopped the asparagus,
but it turned out wonderfully and I even enjoyed that salmon was in it!


Pasta with Salmon, Leeks, and Asparagus

1 Tablespoon unsalted butter
2 leeks, white and light green parts only, halved lengthwise and sliced thin (I only used one, but would recommend 2)
2 skinless salmon fillets (I used 3 and would recommend at least 3)
1 cup dry white wine
3/4 cup heavy cream
1 pound farfelle (I couldn't find that pasta and just bought what was on sale)
1 pound asparagus, trimmed and cut on bias into 1 1/2-inch pieces
1/4 cup chopped fresh parsley
1 Tablespoon lemon juice from 1 lemon
1. Bring 4 quarts water to a boil in large pot. Melt butter in large nonstick skillet over medium-high heat. Add leeks and cook until tender, about 4 minutes. Season fish with salt and pepper. Add wine and fish to skillet and cook, covered, until fish is just cooked through, about 6 minutes. Transfer fish to plate and tent with foil. Add cream to skillet and cook until thickened, about 2 minutes.
2. When cool enough to handle, break fish into bite-size pieces, then re-cover with foil.
3. Meanwhile, add 1 Tablespoon salt and farfelle to boiling water and cook until almost al dente, about 10 minutes. Add asparagus and continue cooking until farfelle is al dente and asparagus is tender, about 3 minutes. Reserve 1/2 cup cooking water. Drain pasta and asparagus and return to pot. Stir in sauce, parsley, and lemon juice, adding reserved cooking water as needed. Gently fold in fish. Season with salt and pepper to taste. Serve.


Friday, July 30, 2010

Cinnamon Raisin Bread


As I stated in a previous post, I am trying to go through a selection of recipes from The Bread Baker's Apprentice. The first bread I chose was Cinnamon Raisin Bread. I tend to make things such as muffins or breads for breakfast because my husband is off and running in the morning before being able to sit and have breakfast and I also run out the door early some mornings. It just makes it easier for me to have a pre-made breakfast on hand to be able to grab or pack for my husband. I saw Cinnamon Raisin Bread and thought it would be perfect to put in the toaster before running out the door and it reminded me of the store-bought cinnamon raisin bread I used to have when visiting my grandparents. Mmmmm, that toast was good! It took me a while to finally find the time to make the bread, but it was worth it!

My bread took all day because it took much longer to ferment than the book suggested. I think I even put the loaves in the oven before they rose to the suggested height, but I didn't want to wait any longer. I think it took much longer because our house is very cool, which is not the ideal temperature for bread fermentation. With that said, it turned out delicious!

Wednesday, July 28, 2010

Experimentation: Hamburger Helper

I know what you're thinking: Hamburger Helper?! Really?! Well, yes! I love hamburger helper and I think it has to do with my dad making a variety of the stuff on a regular basis while I was growing up. Out of all the things you could buy pre-made, I'd say it's probably one of the better things. The craving of hamburger helper came to me this week with the thought that maybe if I made it similar to the box version, I could have something that tasted like beef stroganoff without actually having to make it (my husband doesn't care for it and I have issues with buying something out of the box). I started my search online and tried to piece together some of the ideas I found. I noticed there were more recipes for something like a chili cheese thing, but I already have a recipe I really like for that. I wanted stroganoff!

After my research this is what I came up with:

1 lb ground beef, browned. 

Mix in 1 cup hot water, 2 cups milk, 1 1/2 cup egg noodles, and 1 Tablespoon cornstartch.

I actually used a small carton of whipping cream instead of milk simply because my milk went bad. I figured, I've used it in recipes similar to this before, so maybe it will make a creamier sauce.

I also used a combination of these spices: 2 teaspoons garlic powder, 1 teaspoon onion powder, 1 teaspoon allspice, and 1 teaspoon paprika. 

I ended up with something similar to hamburger helper, but void of much flavor. I'm melding over this idea and plan to do more research on stroganoff recipes, but wanted to share a recent experiment. I wouldn't say it was a failure, just not up to my standards. Any suggestions are welcome.

Monday, July 26, 2010

Master Chef on FOX tomorrow

Even though I don't have cable, I manage to find a way to watch television shows. My favorites-cooking shows! I think the chef I watch the most is Gordon Ramsey. I love pretty much anything he's in from Hell's Kitchen to Kitchen Nightmares and now he's bringing another hit show to America- MasterChef.

It looks like an American Idol for Chefs. I know there are many cooking shows that look for a great chef but I, for one, am looking forward to this show in particular. Check out the trailer:

All I can hope is that FOX's website will let me watch it in full!

Saturday, July 24, 2010

Chocolate Ice Cream

I received an ice cream maker for Christmas last year with the thought that when the summer months come, I would have fresh ice cream on hand without having to purchase it. The appliance has been sitting around my house collecting dust during the winter months, but now that my husband and I are constantly craving ice cream, I swept the cobwebs off the box and took my shiny new ice cream maker and put it on my counter.

Isn't it pretty?!

I started by looking at the recipes within the recipe book given with the ice cream maker and decided chocolate was the one both my husband and I would want and enjoy. However, I made several mistakes along the way...

The ingredients.

I mixed the ingredients following the recipe, but it did not require that the mixture be refrigerated before putting in the maker. The recipe said to put it in the refrigerator only if I was not going to put it into the ice cream maker right away, but I would make sure I refrigerate for a while before.

I also put the container into my freezer, but not quite for the recommended minimum of 6 hours. I shook the container to check to see if the liquid inside was frozen and it seemed to be ready, but I think it needed more time in the freezer. Now I'm trying to keep it in the freezer until I need it.

It was fun to watch it mix while I was washing dishes. 

It didn't turn out terribly, just a little icy without the creaminess I wanted. That could also be due to my air tight container, not being so air tight. I guess I need to go shopping for one! I also am going to try to find a recipe that is more flavorful. The recipe book that came with the maker was fine, but not fantastic. I guess I am now on the search for an amazing chocolate ice cream recipe.